Sunburst Tie Dye Pattern
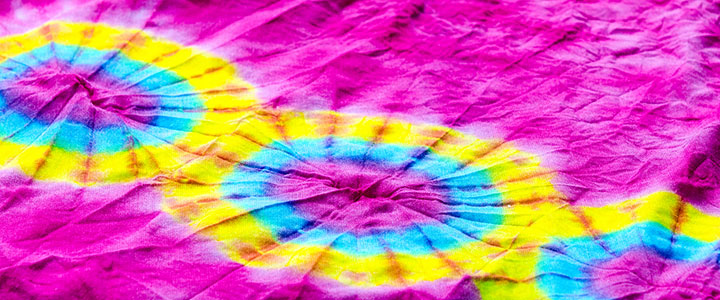
The Sunburst Tie Dye pattern is one of the simplest to create. It’s also one of the most forgiving, because there are no rules and you can’t really make mistakes. You can have as many or as few sunburst segments as you’d like. You can use a single color, two colors or even multiple colors. You can also create variations like putting sunbursts on the front only. This one is suitable for beginners.
- Lay your shirt out flat on your covered working surface.
- Pick the place that you want your first sunburst and pinch the fabric, pulling it up and away until you have about 2 inches.
- The amount of fabric you pull and wrap will directly affect the size of your sunbursts
- Now wrap a rubber band around the clump of fabric
- The tighter you wrap the rubber bands, the higher the chance you will get white lines in your design. Tight wraps also help prevent colors from bleeding across segments.
- Looser rubber bands will increase the chance of bleeding
- Pick the next place on your shirt that you want a sunburst and repeat Step 4 until you’ve added all the rubber bands for all the sunburst you want
- Apply dyes to the different segments of clumped fabric to color the inside of the sunburst.
- Once you have applied dye all the sunburst segments, add dye to the rest of the white fabric as desired.
Variations ideas: Pull different amounts of fabric for each sunburst to create different sizes all over the shirt. Add additional rubber bands around each sunburst to create additional segments that can be dye different colors for rings around each sunburst. Pull your sunbursts in distinct patterns, such as a single diagonal line across the front of the shirt.
To complete your design and shirt, follow the instructions listed on the Tie Dye Basics: Quickstart Guide page.
Leave a Reply