Tie Dye Patterns for beginners, intermediate and expert levels.
Stripes Tie Dye Pattern
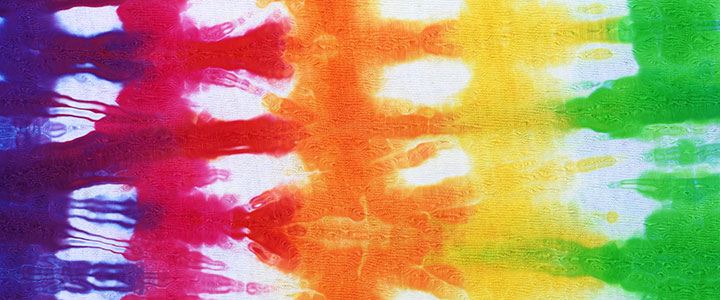
The Stripes Tie Dye pattern is very cool, easy and versatile. The first decision you have to make is whether you want the stripes to be vertical, horizontal or even diagonal. Once you decide this, you can move on to choosing the color pattern that you’d like to use. This design is very easy and suited for beginners, advanced and even experts. After you try a simple version, it’s easy to move to more complex variations. Once the shirt is folded and wrapped with rubber bands, it’s very similar to the Bullseye pattern.
- Lay your shirt out flat on your covered working surface.
- Fold the shirt in half cross the center in the OPPOSITE direction you want the stripes to be.
- Next fold, move 2 inches up from the original fold, and fold the shirt forward.
- Continue folding the shirt in 2 inch segments, back and forth, accordion style.
- Once you have completed the folding process, your shirt should be in a tube-like square shape
- Now wrap a rubber band or zip tie around one end of fabric
- The tighter you wrap the rubber bands, the higher the chance you will get white lines in your design. Tight wraps also help prevent colors from bleeding across segments.
- Looser rubber bands will increase the chance of bleeding
- Next move down the fabric and add another rubber band dividing the shirt into a new segment that will determine the width of the stripe.
- Repeat this process until you’ve added all the rubber bands and segments that you want to create as many stripes as you’d like at the width you want.
- Apply dyes to the different segments of fabric to color the stripes
To complete your design and shirt, follow the instructions listed on the Tie Dye Basics: Quickstart Guide page.
Leave a Reply