Spiral Tie Dye Pattern
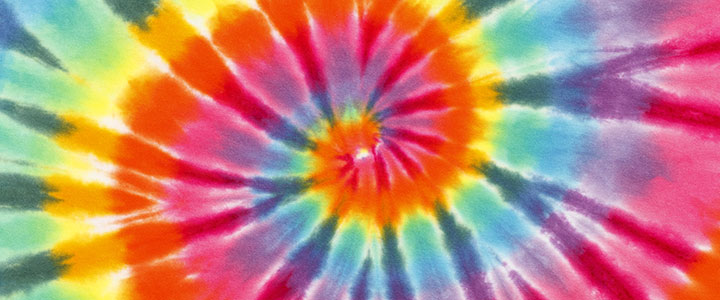
The Spiral Tie Dye pattern is a classic. It’s by far the most recognizable and popular design. It looks complex, but it’s actually very easy. This one is suitable for beginners. Variations include the placement of the center of the spiral, such as corner, left or right breast and even multiple spirals on the same shirt. Typically you will see this design used with a sequence of rainbow color segments, but it can be done with as few colors as two and still have beautiful results. Another variation of this design is the complete the spiral design, and then add a light wash of a single color of dye to the top surface and bottom surface of the disc shaped fabric. This variation is called the Spider.
- Lay your shirt out flat on your covered working surface.
- Use your fingers (or even a fork) and pinch the fabric of the shirt at the starting point, which will be the center of your spiral
- Twist the shirt from the center point and spin until the entire shirt is shaped like a round disc.
- Add rubber bands around the disc shape to form pie like segments. 3 rubber bands will create 6 segments. 4 rubber bands will create 8 segments.
- Apply dyes to the different segments to create your design, creating pie like shapes with each color.
- Flip the disc shaped shirt over and add matching dye colors to the corresponding segments from this side also.
To complete your design and shirt, follow the instructions listed on the Tie Dye Basics: Quickstart Guide page.
Leave a Reply